How I Customized a Thrifted Sweater
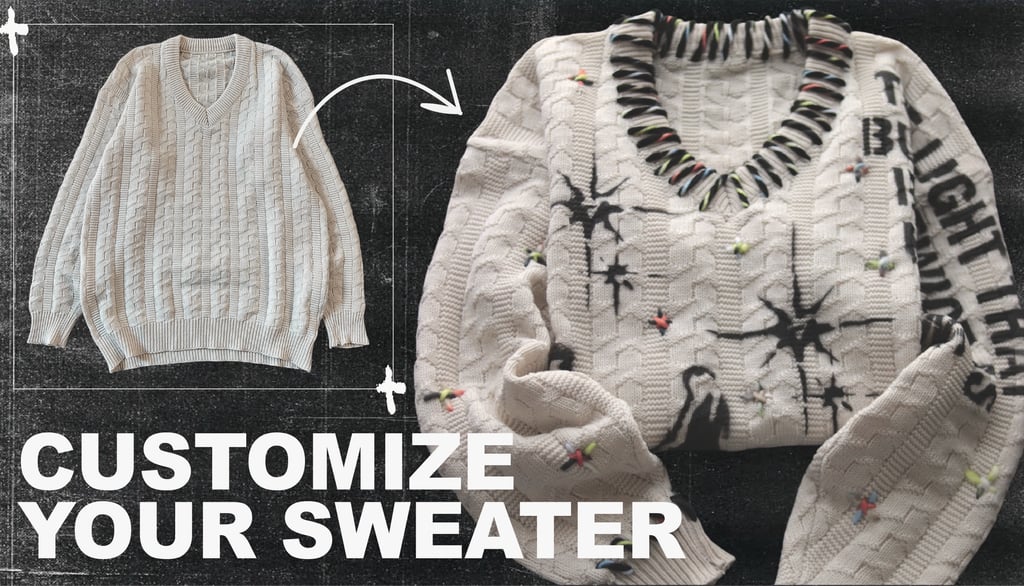
Breathing new life into old clothes doesn’t have to be complicated. In this tutorial, I’ll show you how I took a plain white vintage sweater and turned it into a one-of-a-kind piece using simple embroidery and stencil techniques.
7/6/20252 min read

What You'll Need:
– A plain sweater (mine’s second-hand)
– Yarn
– Embroidery and knitting needles
– Spray paint (not fabric-specific, but works great)
– Custom or pre-made stencils
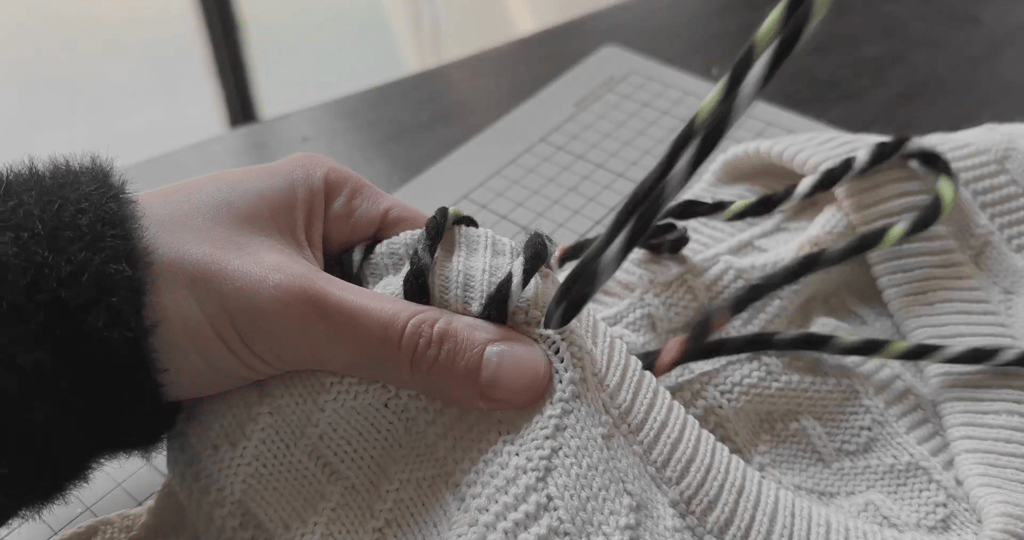
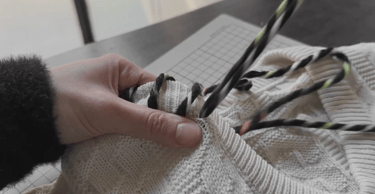
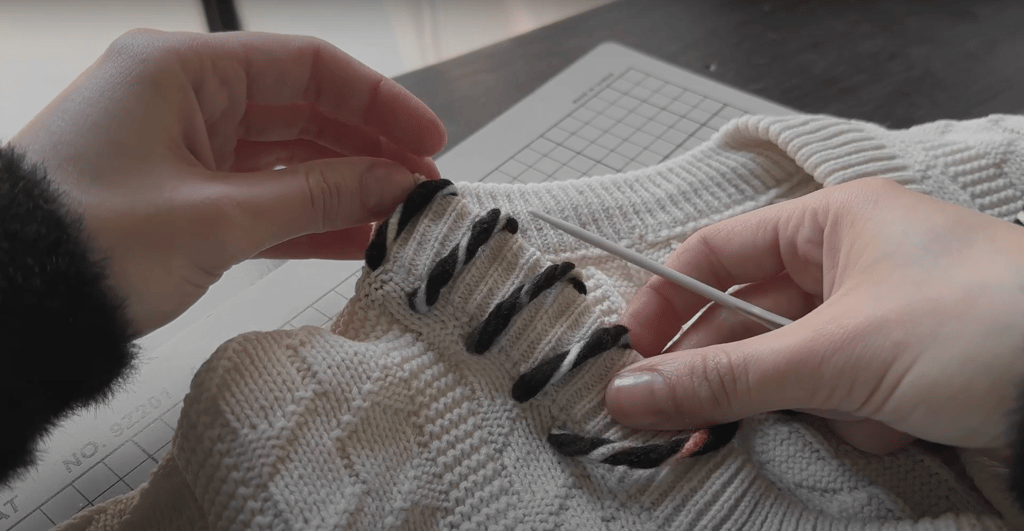
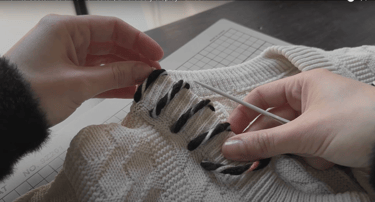
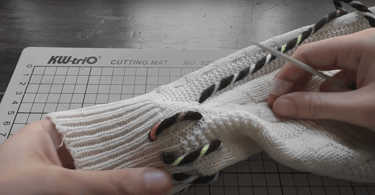
Step 1: Embroidering the Collar
Start by threading your needle. If it gives you trouble, wrap a bit of masking tape around the end of the yarn. I began by crossing the yarn around the neckline in a simple pattern.
Step 2: Securing Loose Ends
When I ran out of yarn, I tied a knot from the inside and continued the stitching. Don’t worry if it’s not perfect — that’s the charm.
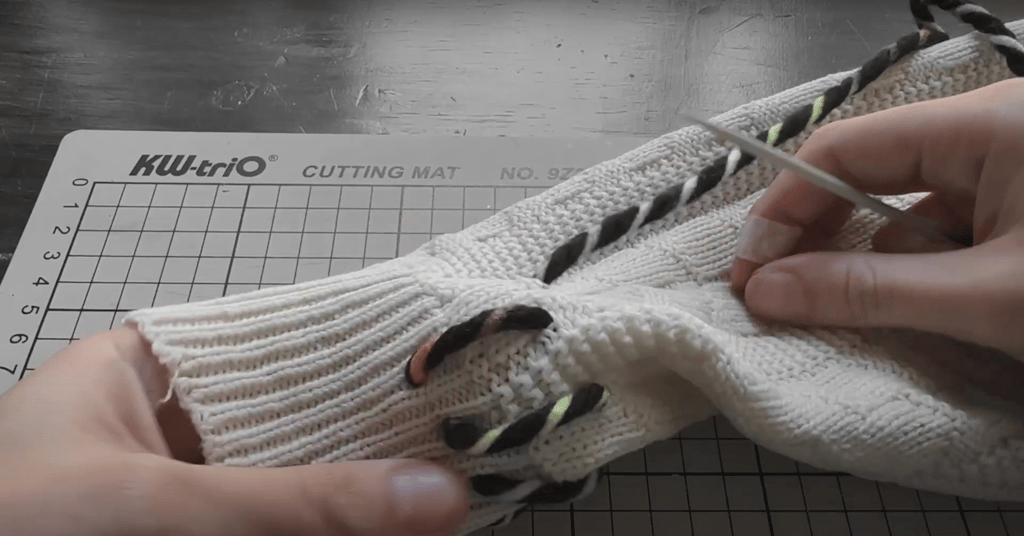
Step 3: Embroidering the Cuffs
Repeat the process on the cuffs. If you see loose threads on the sleeves, fix them after. I kept my stitches tight to avoid saggy sections.
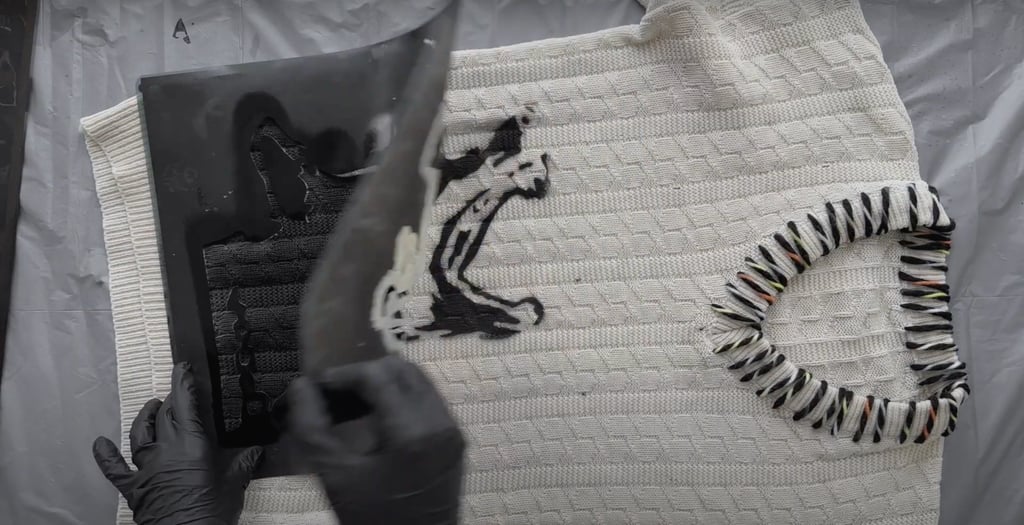
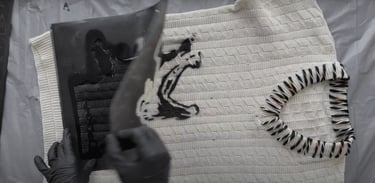
Step 4: Spray + Stencil
I used my own stencils and spray paint that wasn’t made for fabric, but it stayed perfectly after washing. Focus on areas you want to highlight.
Final Thoughts:
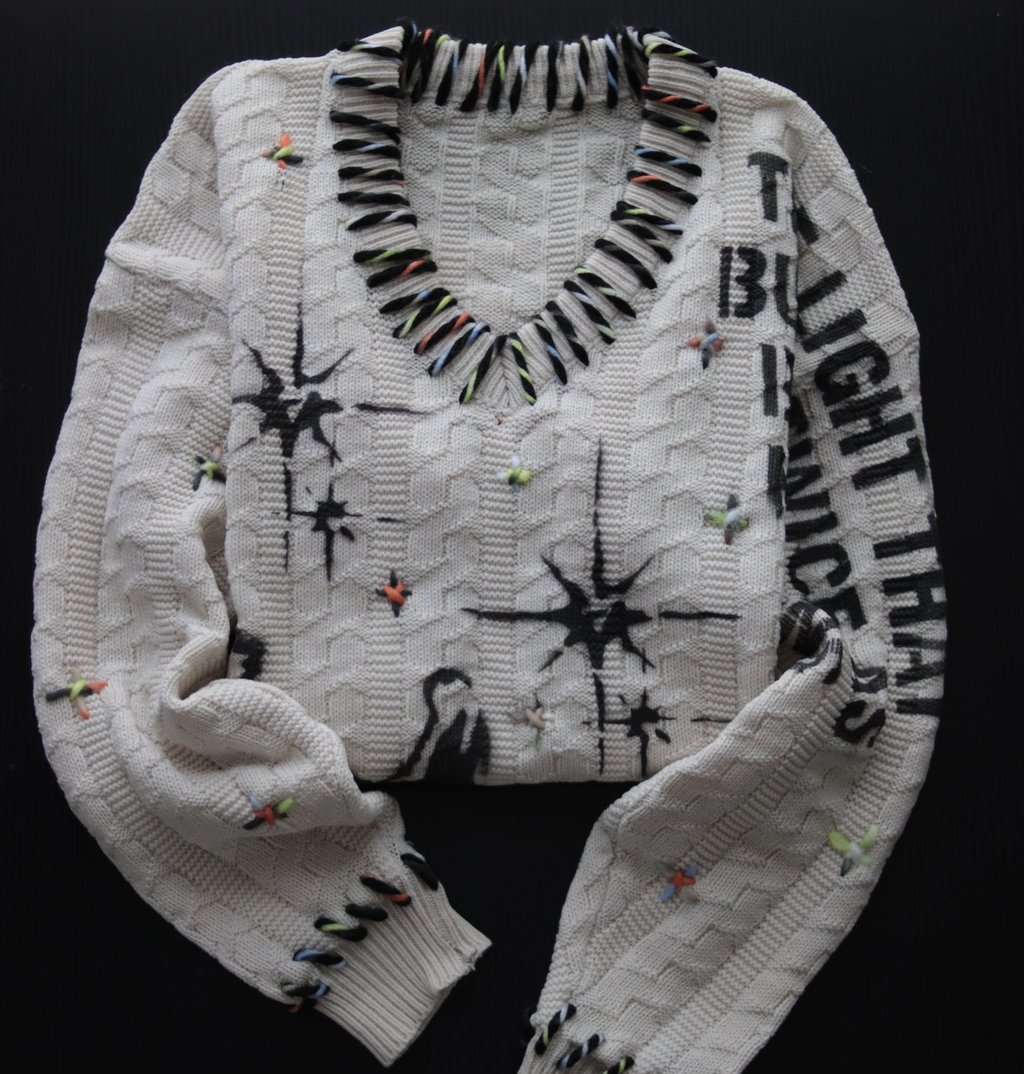
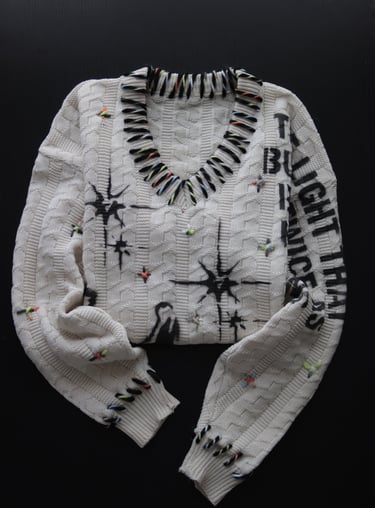
The final look is personal, handmade, and completely different from what we started with. Feel free to adapt the method with different colors, yarns, or even base garments.
You’ll find the materials I used linked below. Let me know if you try it!