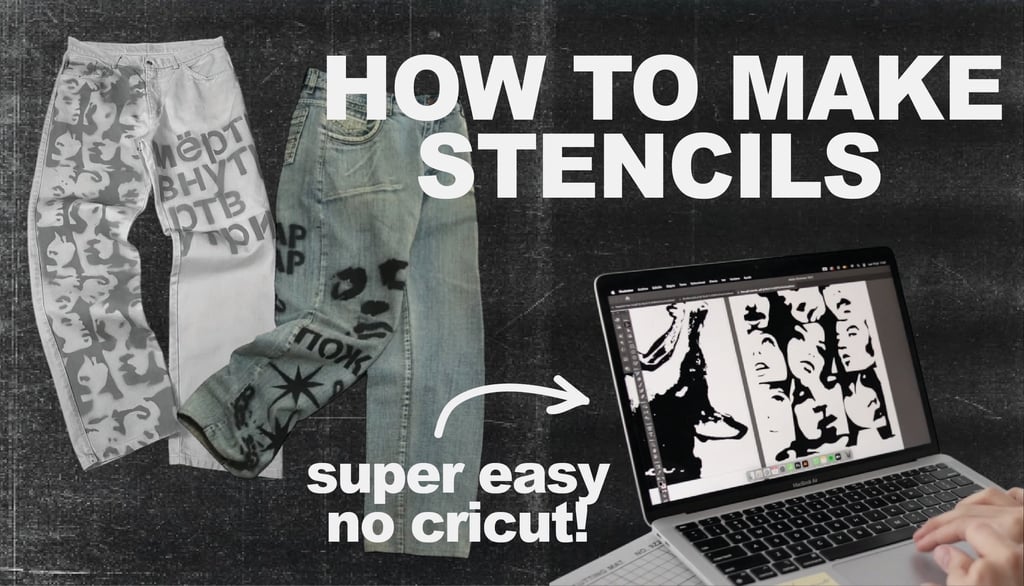
How to Make Your Own Stencils to Customize Jeans
If you’ve ever wanted to give your jeans a custom, one-of-a-kind look, making your own stencils is a simple and super satisfying way to do it. In this tutorial, I’ll walk you through how to create your own stencil from scratch, using materials you probably already have at home.
7/16/20252 min read

What You'll Need
A piece of acetate
A printed version of your design
Masking tape
Scissors
A precision cutter (X-Acto-style)
A permanent black marker
Optional: cutting mat
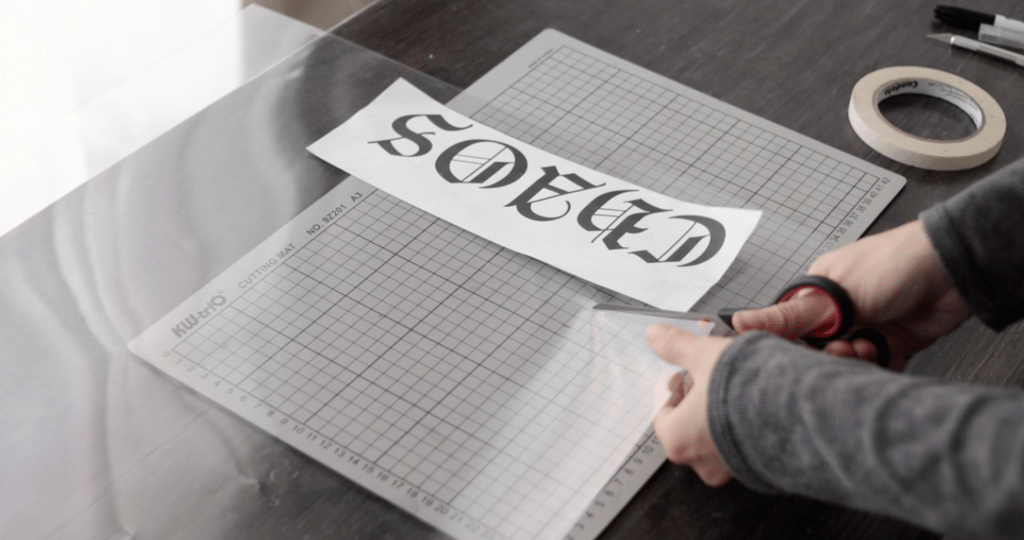
Step 1: Set Up Your Stencil
Cut a piece of acetate big enough to fully cover your design, leaving a solid margin on each side. Tape the printed design flat onto your table, then tape the acetate sheet right over it to keep everything in place.
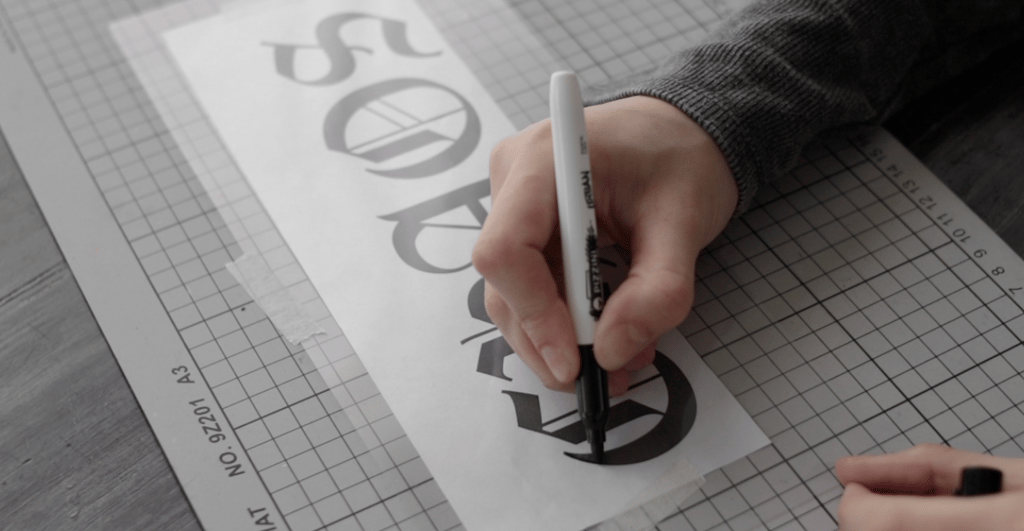
Use your permanent marker to trace the outline of the design onto the acetate. It doesn’t need to be flawless, but the more accurate your tracing is, the better your final stencil will turn out.

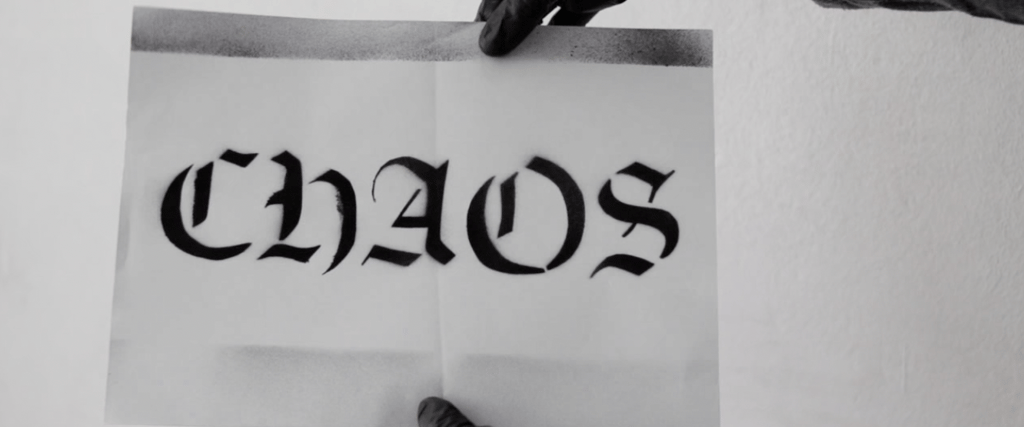
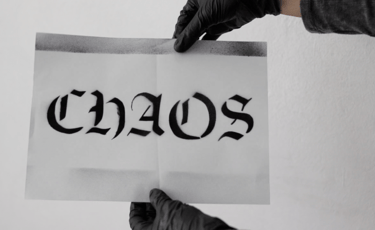
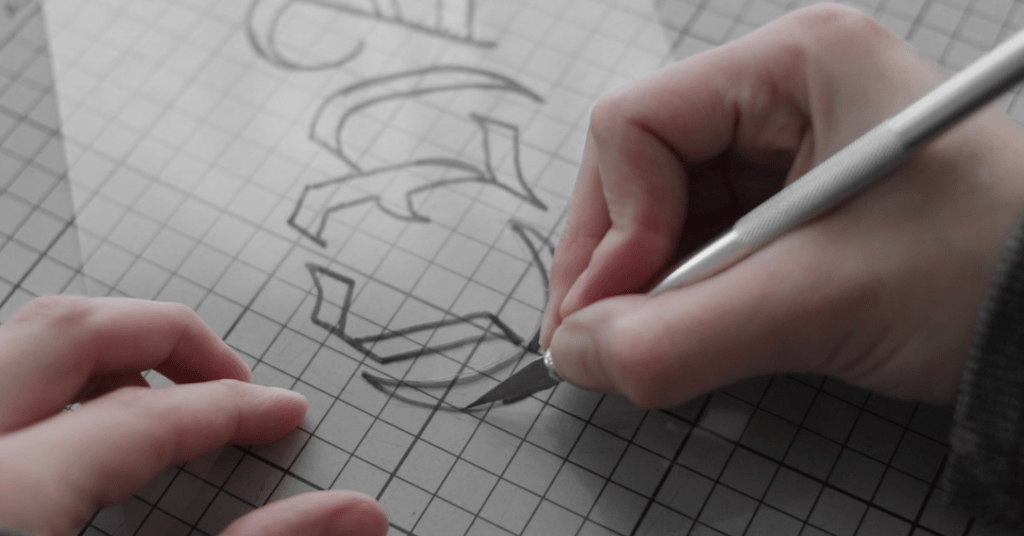
Step 2: Cut It Out
Using a cutter with a fresh blade, carefully cut out your design. Try doing this over a cutting mat or any surface you don’t mind damaging.
Rotate the acetate while you work—it often helps with control. Most importantly, pay attention to the structure of your design. You want to leave small connecting bridges in certain areas (especially in letters like "O" or "A") so the stencil stays sturdy.
It doesn’t need to be perfect! As long as the main shapes are clear, it’ll do the job.
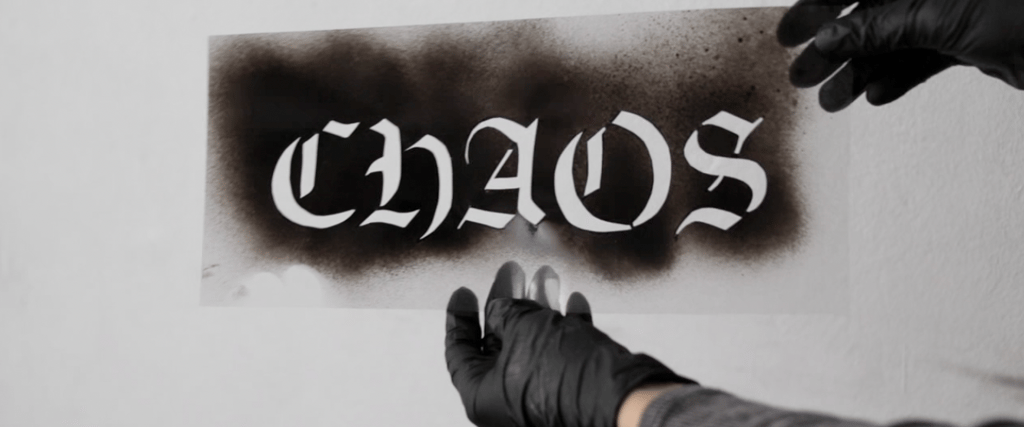
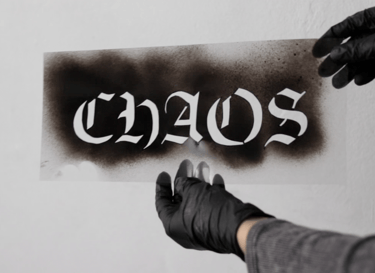
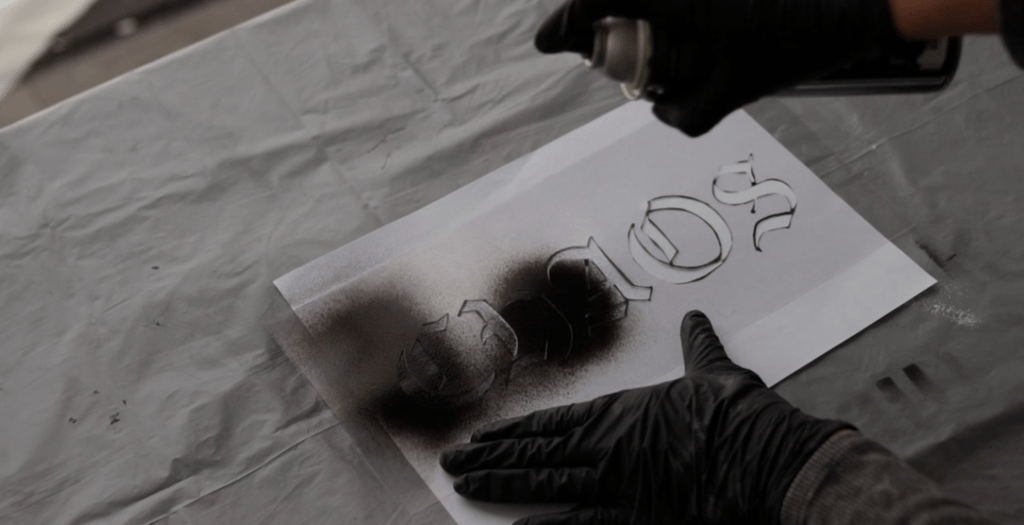
Step 3: Test Your Stencil
Time to try it out. I’m testing it on paper here, but these work beautifully on fabric too.
For my projects, I use regular spray paint—not specifically for textiles—but I’ve found that it holds up well, even through washing. Just make sure to do a quick test before applying to a finished piece.
The Final Look
Once you lift the stencil—voilà! Your design is there, bold and clean. A quick and easy way to totally transform your denim.